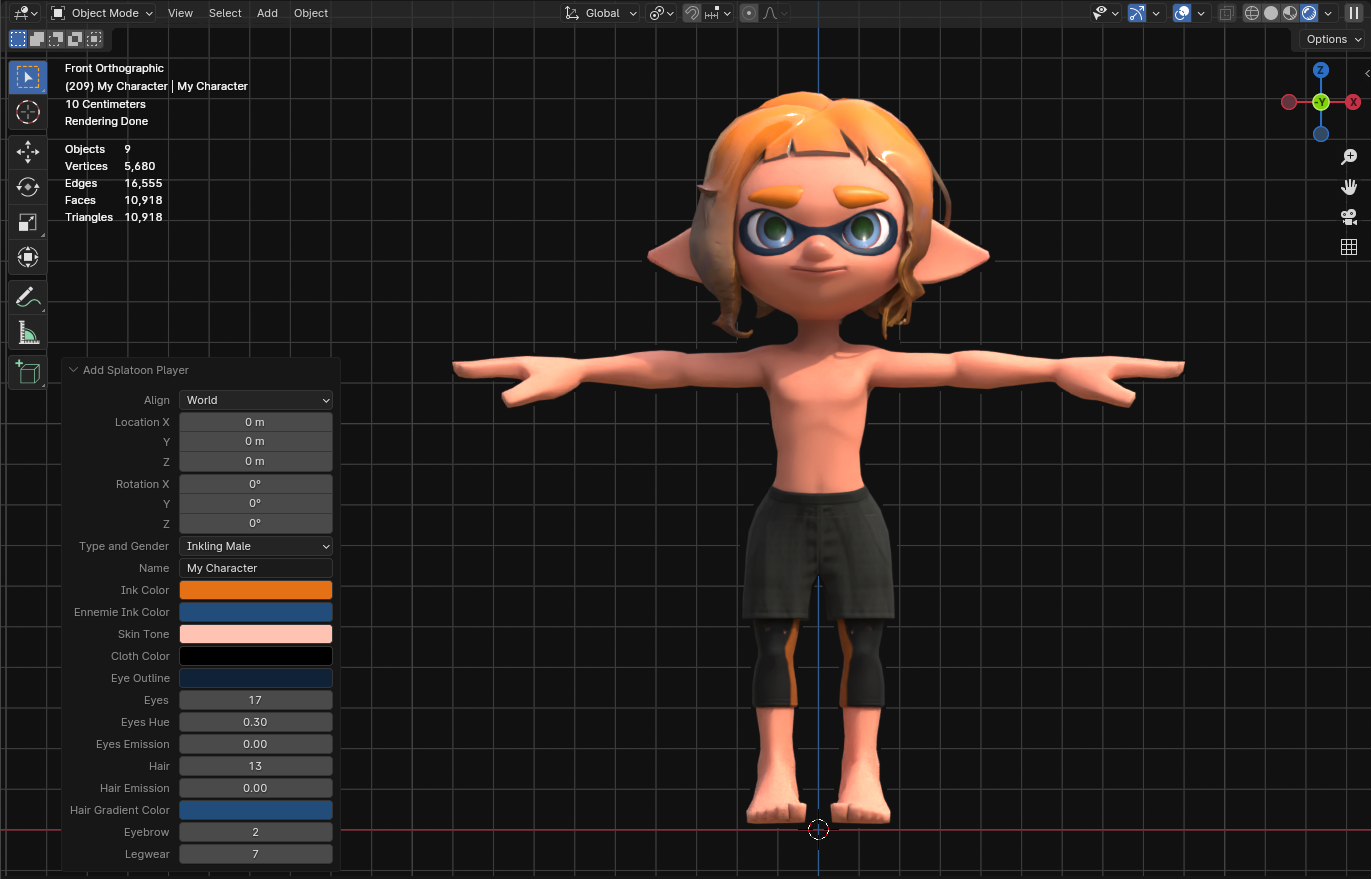
Customize all settings to create your perfect character.
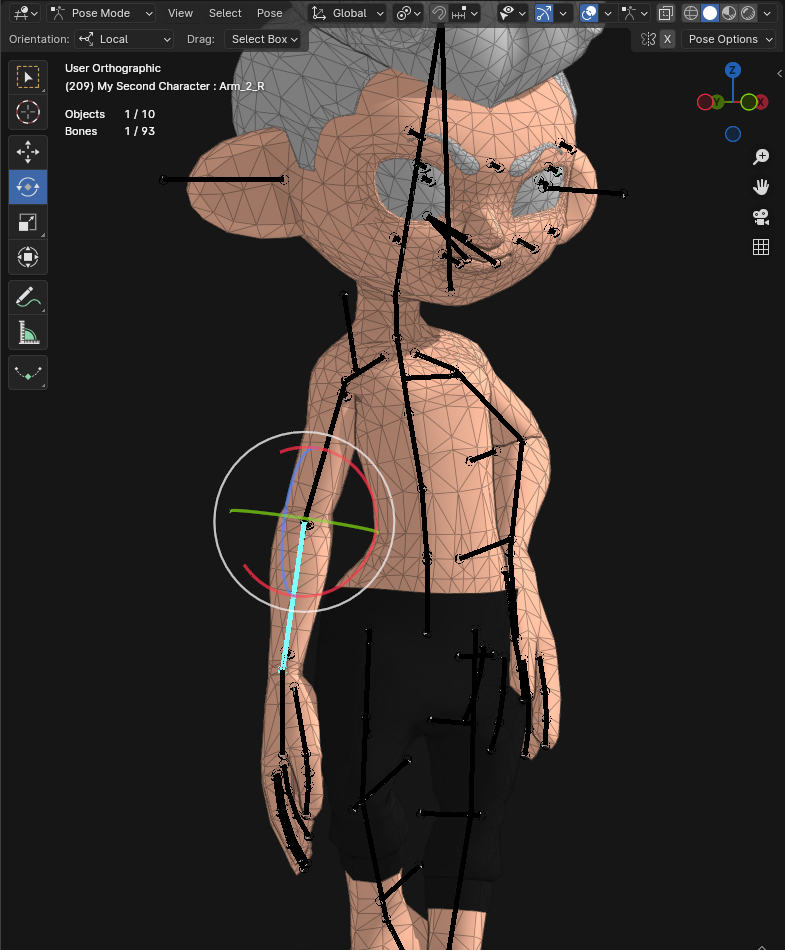
Easy Posing
All rigs are simple and effective, not too complicated and easy to use.
Add-On
Collada
FBX
Model Importation Comparison
The Splatoon model importer add-on can recreate any Splatoon model into Blender from any .fbx or .dae file.
Download, Import & Use
No need to spend hours recreating shaders and armatures. Simply import your file and enjoy. Imported models are automatically optimized to speed up render times.
Ink Everything
Move a simple bone to cover your character with ink. You can also control the squid/octopus transformation!
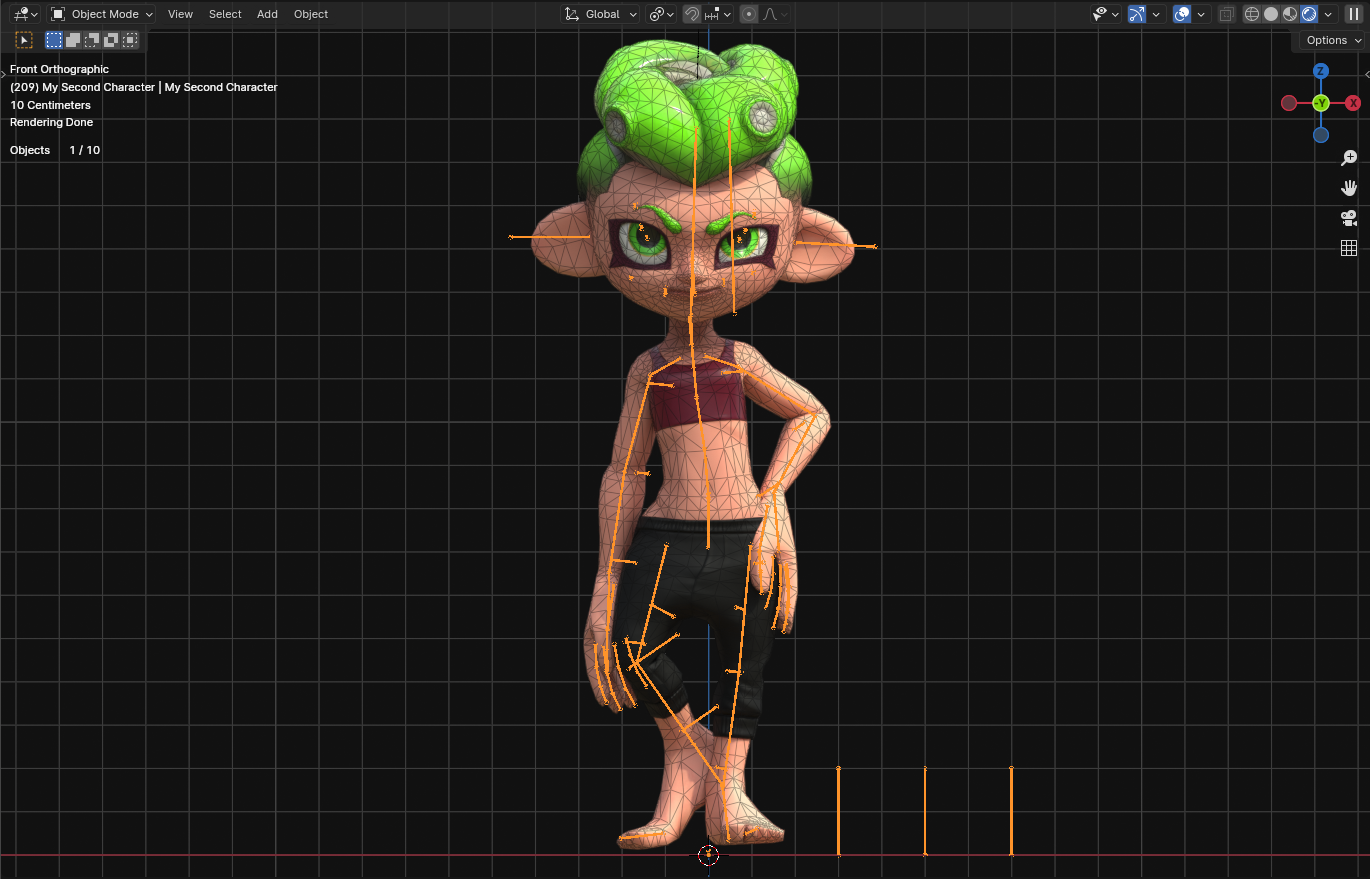
Ultra Easy Clothing
To import any kinf of gear to a chacrater just select the character and import the gear. It's easy, fast and works with inking.
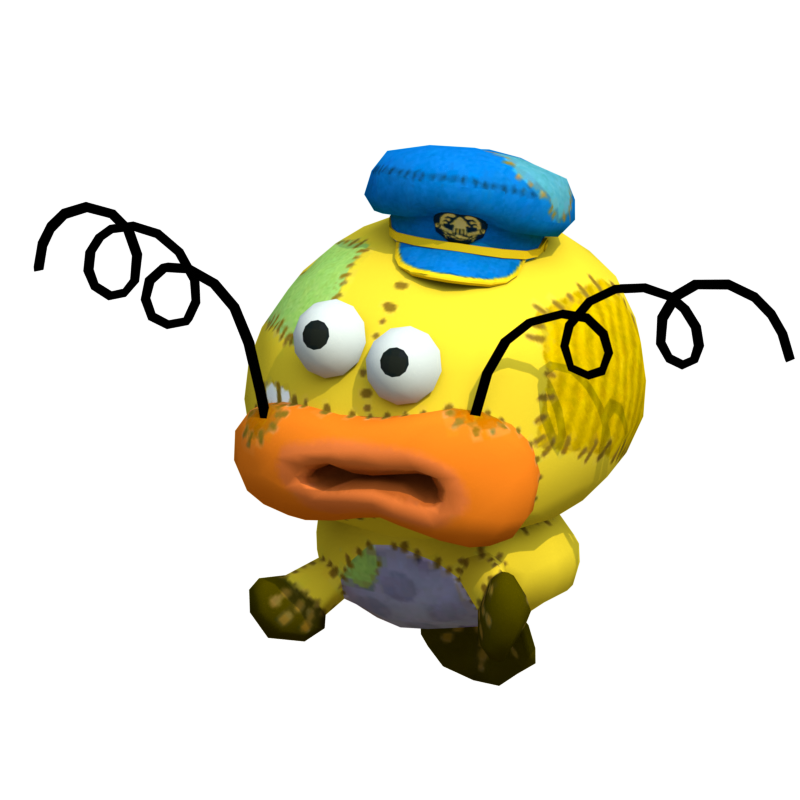
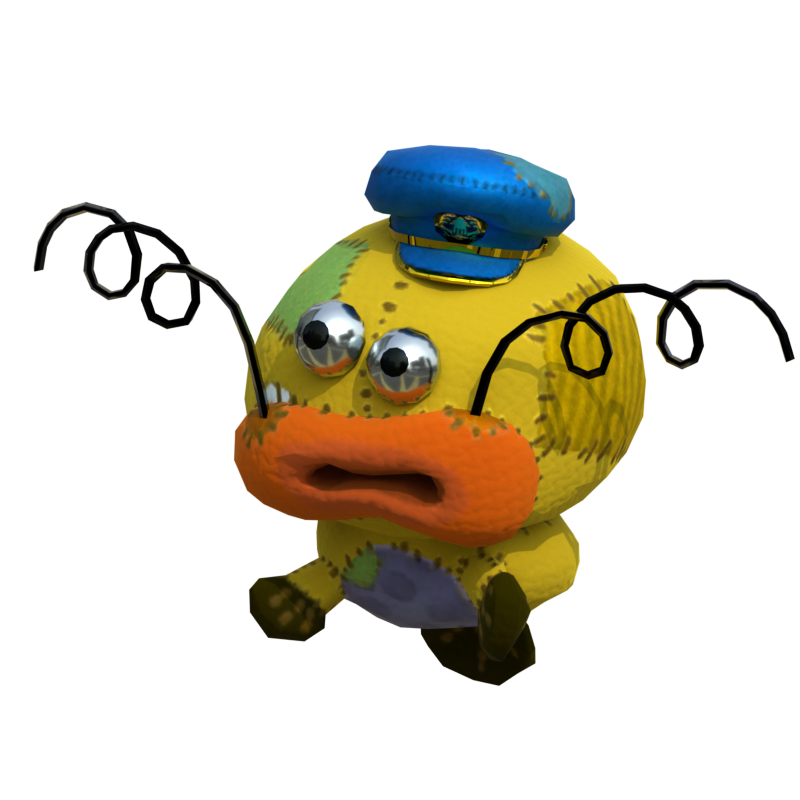
Preview the Model
Click and move the mouse to rotate and preview this little pose exemple.
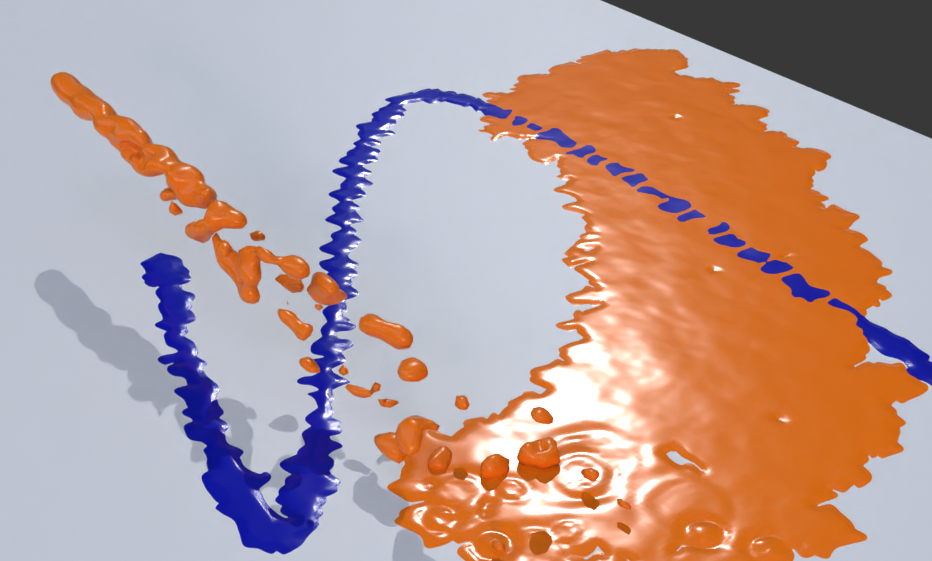
Dynamic Inking (in Progress)
You want to ink more than your character? Ink everything with this add-on, set an object to ink surface and another to ink emitter and you are ready!
Join the Community
Discover other Splatoon creators, share your art, learn new skills and have fun in the official Splatoon Blender Discord server. Need game models? Download game files uploaded by the community for your projects. Ask help, report a bug and make suggestions!
Splatfest Tee Maker
Create your custom splatfest tee with your color and your logo.
Color
Size
Logo
Logo Size
Idol Team
Custom Team
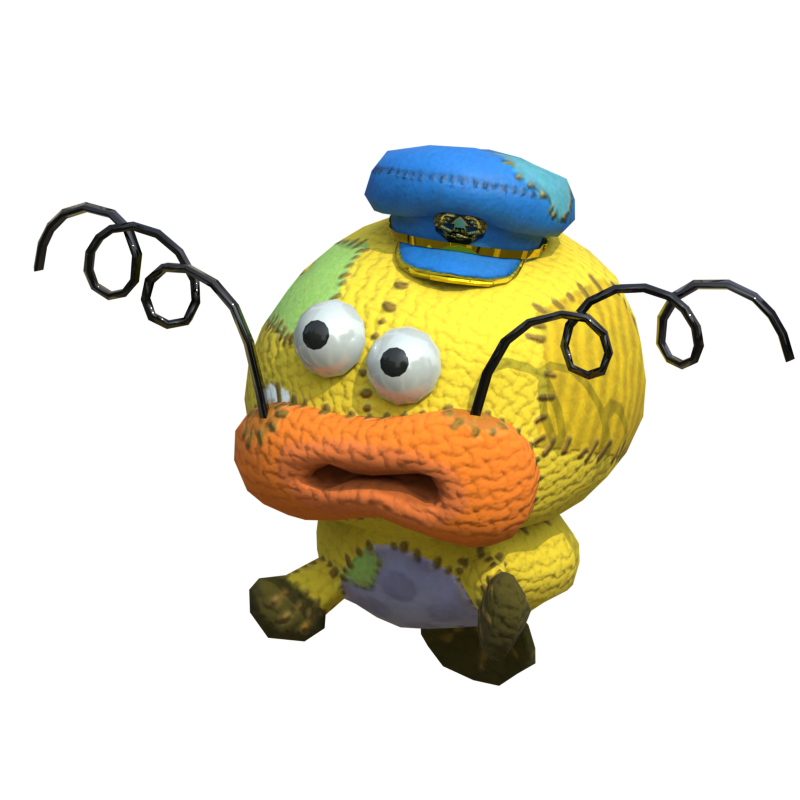
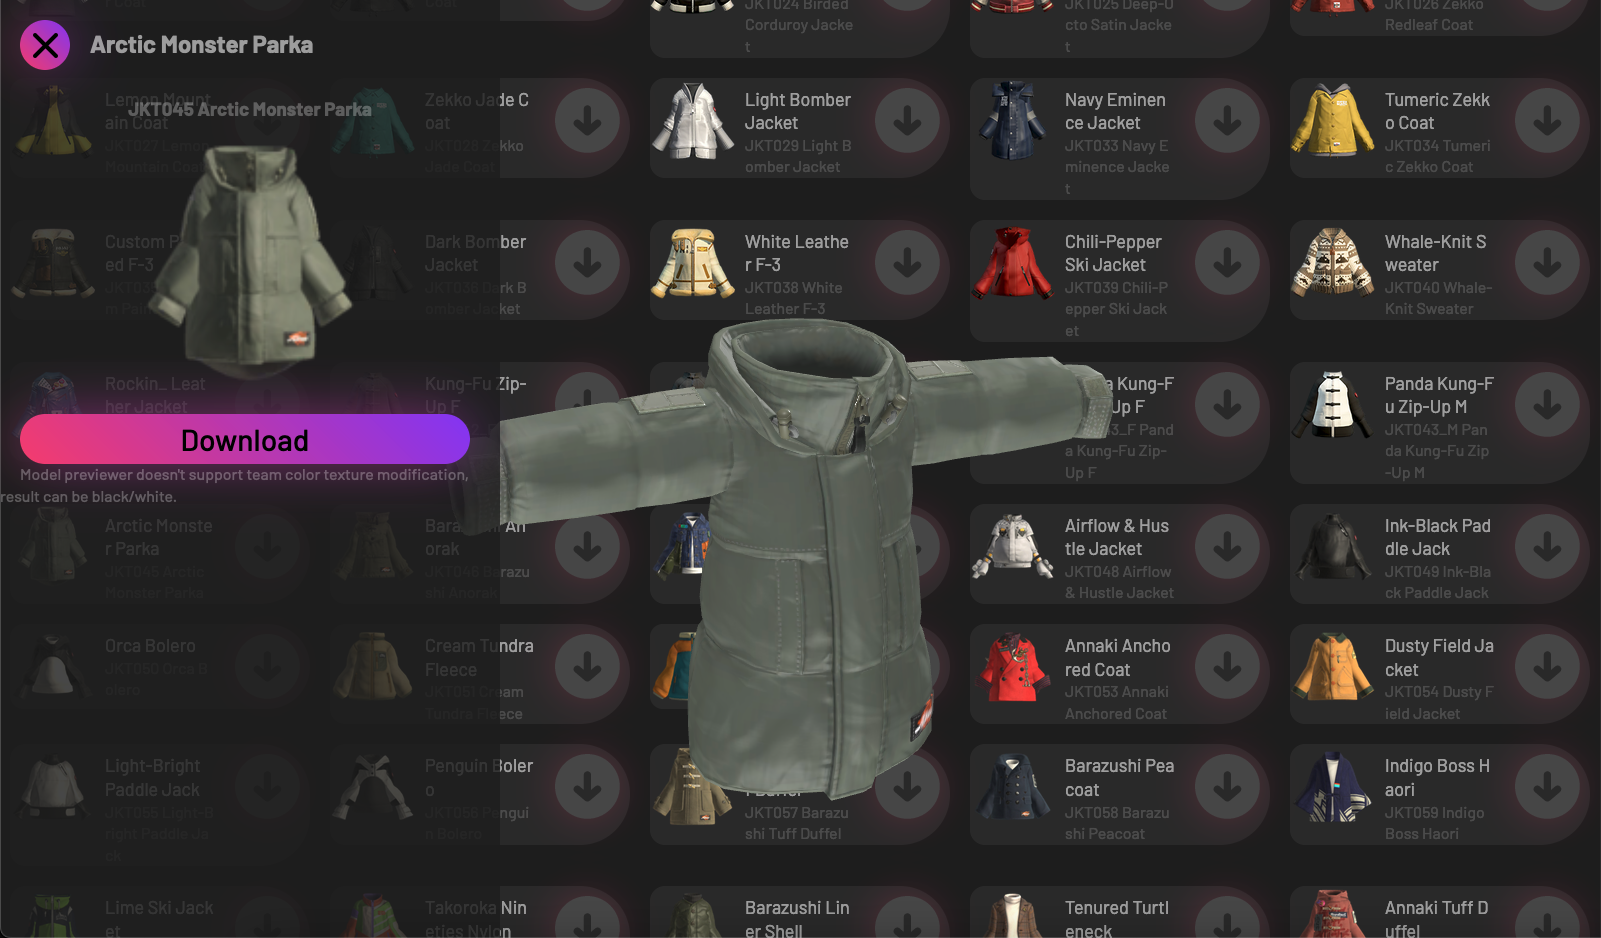
Splatoon Resources
Find, Download & Preview! Explore the resources pages to find your Splatoon 3 locker, gear, cloth, shoes, weapon and NPC model. All of these models can be auto set up with the Splatoon Model Importer add-on.
Handle the Interface
Install an Add-On
Create your First Character
Armature & Poses
Lighting
Render
Tutorials
Handle the Interface
Blender has a classic 3D interface easy to manipulate. First of all, you will need to remove the default objects in the scene by pressing A to select all the objects. Press X to delete the selected objects, now you should have a empty scene.
Here is the essentials keys to manipulate the view in Blender:
To rotate your view hold the scroll click and move the mouse. You can also hold the top right axis indicators if you don't have scroll.
To move your view hold the scroll click and left click and move your mouse. You can also hold the top right hand icon if you don't have scroll.
To bring closer the view you just need to scroll. You can also hold the top right magnifying glass icon if you don't have scroll.
If you want to focus on a object press the numpad ",".
Now let's talk about object manipulation.
Any object has a transform composed of a location, a rotation and a scale. To modify these parameters you can use the tool at the left but I recommand to use keys:
To move an object (change the location) press G and control the movement with the mouse.
To rotate an object press R and control the rotation with the mouse.
To scale an object (change the size) press S and control the scaling with the mouse.
When you are moving/rotating/scaling an object you press X, Y or Z to apply this modification on a specific axis. For exemple if I want object to be higher I will press G + Z.
Now you have the most important key to start Blender!
Install Add-Ons
On Blender installing add-ons is really easy, press Command + , to open prefenrences and go to the add-ons category. After that, click on install and choose your downloaded .zip file. When it is installed you can enable the add-on.
Create a Character
After installing the Splatoon Character Creator add-on, press Shift + A, go to Mesh and click on Splatoon Character. Toggle the menu at the bottom left to access to all the parameters. To have a better preview of your character go in the viewport render/shading by clicking on the last sphere icon at the top right.
Armature & Poses
For now your character is in rest position (or T-pose), to give a pose to your character you need to mode its armature. An armature is an object made of bones which can deform an mesh. To move the bones and deform your character go to the pose mode by selecting the armature, expending the top left menu and clicking on "Pose Mode".
Bones are movable like objects with G, R and S. But for most of bones you will just need to rotate them.
Lighting
After posing your character you need to add some lights to make the scene more alive. To do this press Shift + A and go to lights. There is 4 types of light:
the point,
the spot,
the sun and
the area.
You can modify the light properties by going in the light tab (green ampoule icon at the right). You can of course move, rotate and scale lights like any objects.
Render
To make an image of your scene you will need a camera. To create one press Shift + A and click on "Camera". To move easily your camera press N, go to view and click on "Lock Camera to View". After this press Numpad 0 and move your view. When you are satisfied of your camera position, disable "Lock Camera to View".
In Blender there is 3 (and in 4.2 version there is 4) render engine:
EEVEE,
Cycles &
Workbench.
To choose the render engine go in the render tab (camera icon) and expend the Render Engine menu. In this tab you can choose other parameters for your render.
To make a render press F12 or go to Render at the top and click on "Render Image". When your image is rendered press Alt + S to save it.